The tragedy of making period appropriate undergarments is that no one ever gets to see them. All that hard work, and they're always hidden under layers of fabric! Unless you're me, in which case you take every possible opportunity to flaunt your historical skivvies in public. Rather than make a new frock for Friday night at Costume College, I decided to give my "Lotta" bustle its first wearing outside of the sewing room.
 |
| Extant "Lotta" bustle from a defunct Ebay sale. |
Last year I happened to find a photo of the weirdest, most wonderful extant bustle. I figured it was a strange custom one-off, until I stumbled across a photo of a second surviving example. It had a different number of bones, so it couldn't be the exact same one. Then I noticed the same design hiding in a period print advertisement among several of the more familiar types of bustles. The ad called it the "Lotta" bustle. Intrigued, I dug further and found several patents that described similar contrivances.
 |
| Attempting to mock up the Lotta bustle. |
This spring I wrote an article for Your Wardrobe Unlocked that involved reproducing and comparing 6 different bustles. (Psst, use my affiliate link to sign up for access!) Of course, one of the six had to be the Lotta bustle, because I am insane.
 |
| This is the strangest bustle I have ever made. |
Twelve yards of hoop boning, some seventy plus rivets, much frustration, and a pair of very sore hands later- success! I had my New Favorite Bustle. Now if only I had a bustle dress...
 |
| Marsh corset worn at Maker Faire, steampunk style. |
A fabulous bustle needs some fabulous undies to go along with it, so I paired it with the Marsh Patent Challenge Corset that I made for Foundations Revealed (here's my affiliate link for that site too) and my reproduction of a pair of drawers in my collection. The leather used in the Marsh corset is the same leather I used for the sides of the Lotta bustle, so they match!
 |
| That scalloped foxing. That swooping top line. That contrast stitching. YES. |
Even better, I got my AMAZEBALLS Balmoral boots from American Duchess just in time to pack them for Coco! (Not an affiliate link; I just really love AD shoes.) What's super comfy all night long, beautiful, and has curves that don't quit? These boots, y'all.
 |
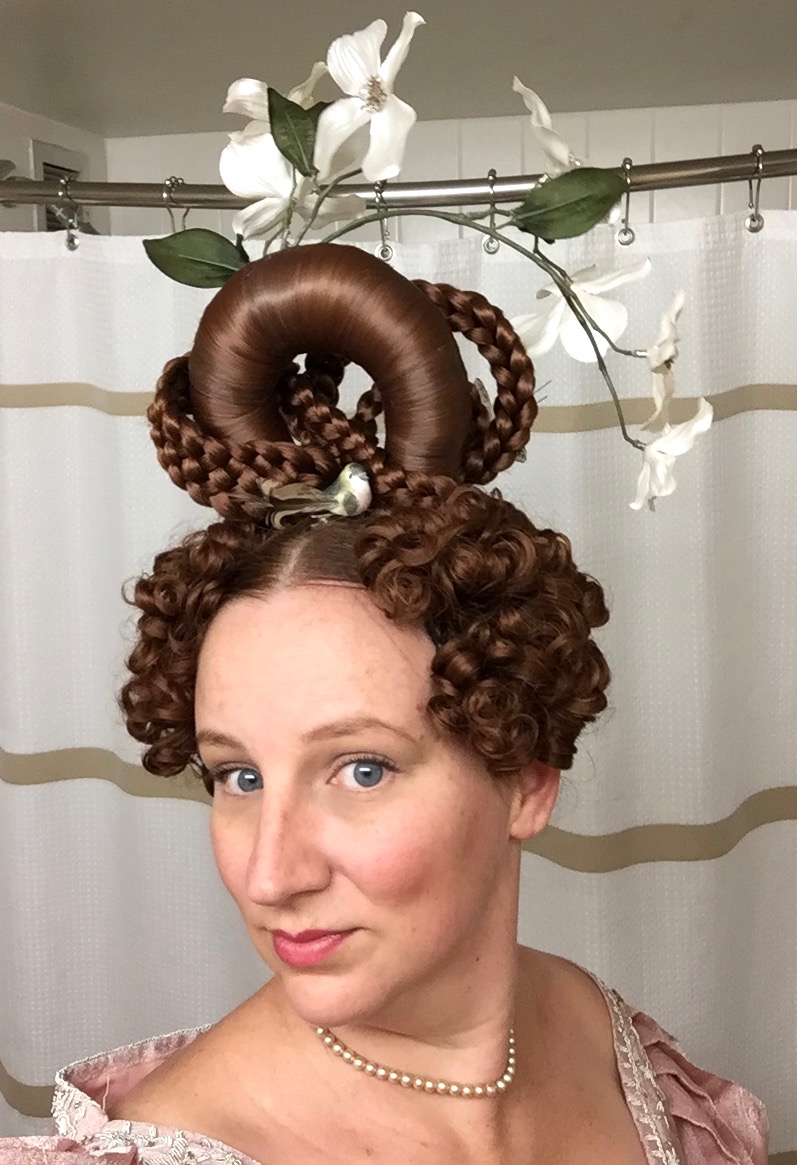
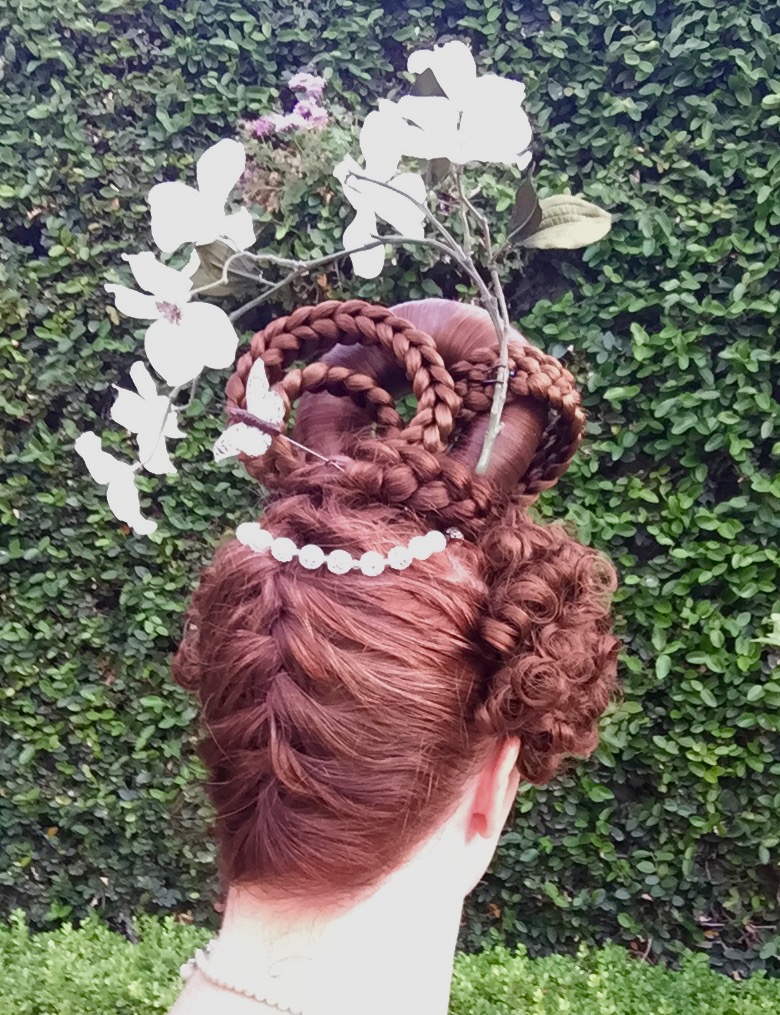
| Why yes, it is all my hair. I paid for it. |

To top it all off, I threw together a Bustle Era updo from a donut, two thick braids, two twists, a few clip in barrel curls, and one of the curly bang clip ins from my crazy Romantic Era hair. If there's interest, I might be able to do a how-to post or video of the process.
 |
| Taking it down at the end of the night was... interesting. |
I had a blast rocking my undies and hair! I'll be sad to cover them up once I get around to making that dress. Bonus: we discovered that the Lotta bustle has a high carrying capacity, resulting in fits of giggles all night.
 |
| A whole "Lotta" junk in that trunk, and absolutely no apologies for that pun. Photo courtesy of Lauren from American Duchess. |
Hey, at least all those snacks were handy when we got hungry.